Motion blur in images is something that can be tricky to capture at first, mainly if I’m used to sticking to the Auto setting of my camera. But when I switch over to full Manual motion blur becomes a creative possibility well worth exploring. Motion blur uses shutter speed to create the appearance of motion in a photograph. Using a fast shutter speed, I can freeze frame raindrops in mid-flight. But a slower shutter speed creates the sensation of movement that gives the image a timeless appeal.
While the foundations of motion blur photography lie in shutter speed, there’s no hard and fast rule to precisely what settings to use. I need to make adjustments for every scene. But fortunately, there are some tips to share that can help you get the best motion blur images possible.
Understanding Shutter Speed and Motion Blur
Shutter speed is the first and most popular way to manipulate motion blur. By using a slower than normal shutter speed, I can create an image where portions or the entire frame seems to be streaking by, creating the sense of a subject in motion.
But exactly how much motion and how much shutter speed adjustments to make are an experiment that takes place each time I come across a new scene. Shutter speed is one of the three pillars of the Exposure Triangle, along with Aperture and ISO. This means that once I adjust my shutter speed, the overall exposure of the image has been altered from the baseline.
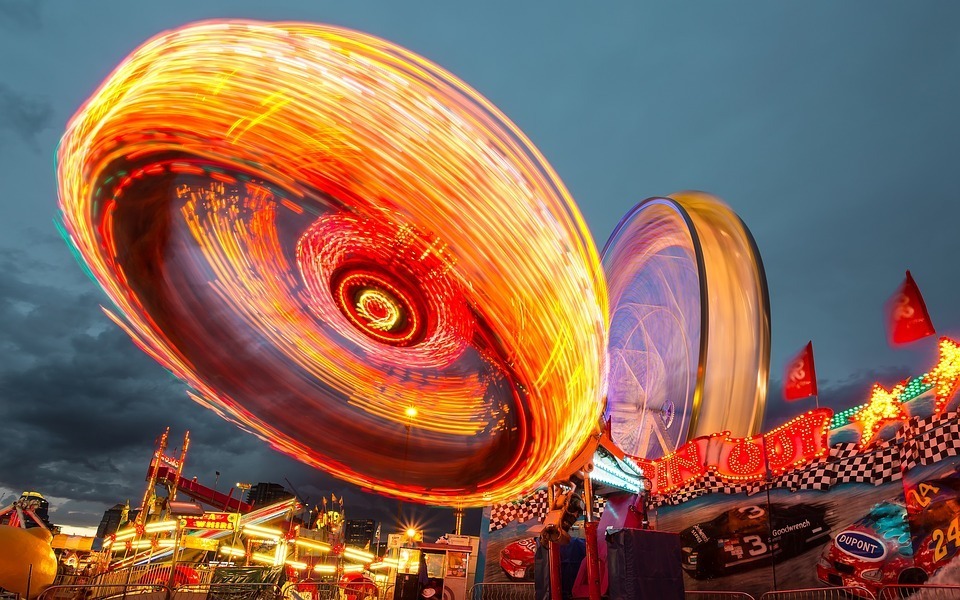
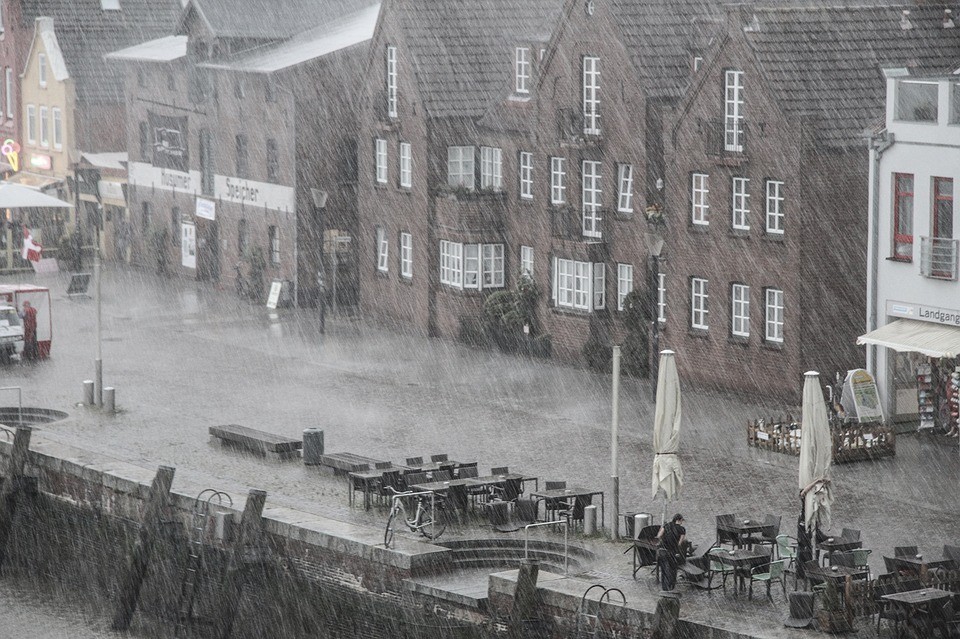
Photo by Free-Photos / CC0 1.0
When lowering (slowing) my shutter speed, I’m letting more light into the camera to strike the sensor. And the more I slow that speed, the greater the potential overexposure. This means my aperture or my ISO needs to be adjusted. If I like the depth of field (how much of the scene is in sharp focus) the way it is then I can simply raise the ISO of my image. This is usually the best way since lowering the ISO doesn’t degrade the image quality compared to raising it.
ISO is how sensitive the sensor is to light. Instead, I can also adjust the aperture setting which is the size of the hole that allows light into the camera. Adjusting aperture in either direction does not affect noise in of itself unless your ISO can’t keep up with the new exposure levels.
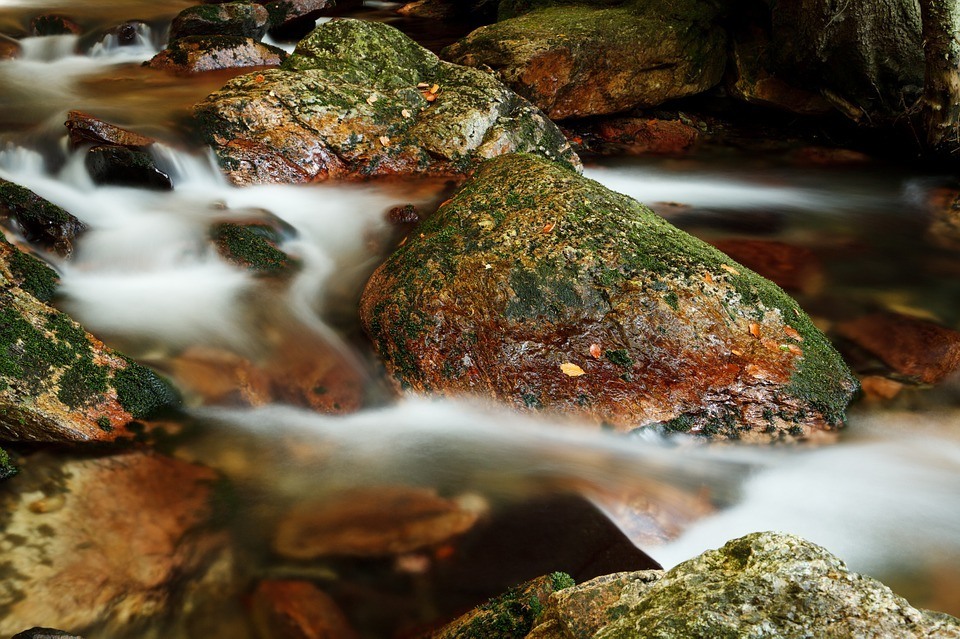
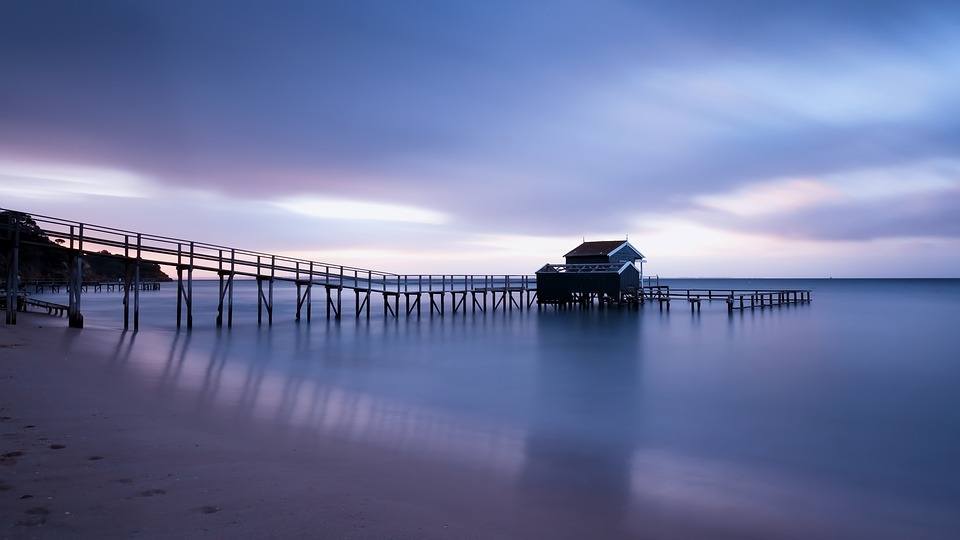
Photo by PublicDomainPictures / CC0 1.0
When starting out with motion blur try a relatively long shutter speed like 1/20th of a second and going lower from there. How low depends on both the speed of the subject, my distance from that subject, my other exposure settings and the amount of light in the scene itself.
I’ll want to be using a tripod as well when creating motion blur with shutter speed. If I shoot handheld motion blur, created by my hands, the shot will become evident due to the slow shutter speeds. Cameras with image stabilization built into the lens and sensor will allow me to shoot reasonably slow, depending on how many stops of stabilization they provide. But once I start getting into 1/4th of a second and below no amount of stabilization will help preserve the parts of the scene I want to keep sharp.
Camera Pans and Motion Blur
The nice thing about camera panning is that I’m no longer worried about motion blur from my hands. It’s expected that the entire image will look shaky and out of focus, so a tripod is no longer mandatory when working with motion blur.
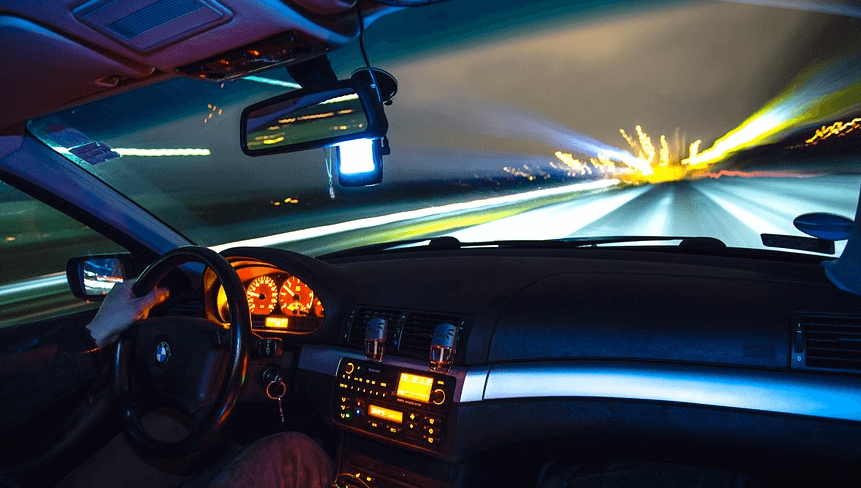
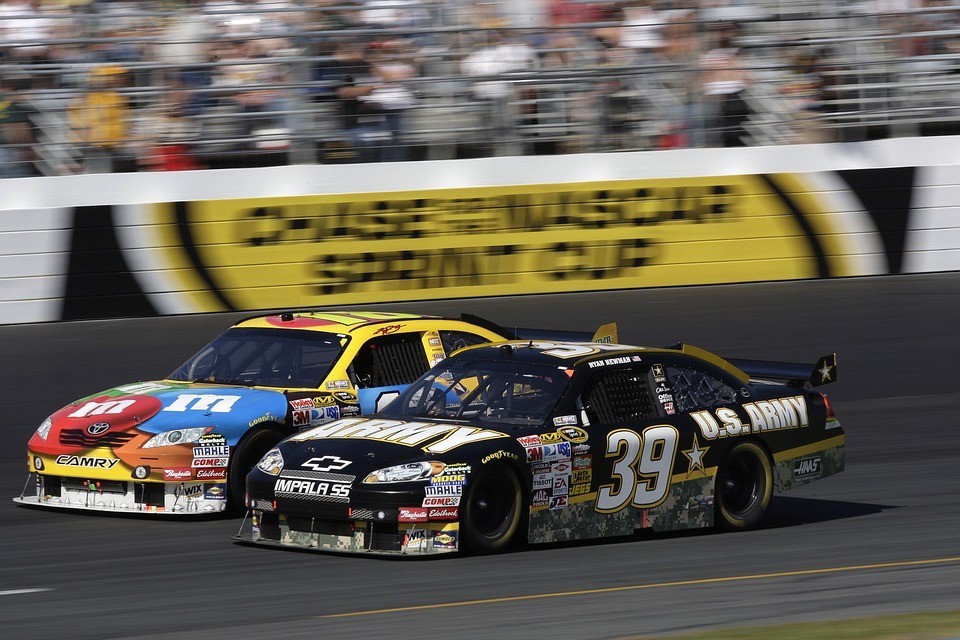
When making motion blur with a camera pan, I want to track my subject at a consistent speed. When done right, my subject will be in focus and sharp while the background will be blurred. This technique is especially popular to give the viewer the perspective of a bicycle or car racer. The subject is in focus while the world seems to be in motion.
This takes even more practice and a bit of luck compared to the first. But once you’ve mastered capturing a few images, it’s easy to become addicted to the technique.
Possible Subjects
While I’m limited only by my imagination, there are several subjects that often come up when making motion blur images. Rainfall is extremely popular. When done properly I can create the sense of a heavy rainstorm even if there’s very little rain falling at the time. By slowing down my shutter speed, or even using a neutral density filter for super long exposures, I can create a monsoon out of a drizzle.
Water is one of the best targets for motion blur photography. The beach or lakefront is another great place to practice. When using long exposures on the order of 2 seconds or more, I can eliminate the choppy appearance of waves and create smooth expanses of water that give an incredibly peaceful cast to the water.
The same technique can be applied to the sky. Much like water, the clouds are in constant motion. Unless its particularly windy even long exposures meant for water may still show the clouds frozen in their usual configuration. But with super long exposures and a bit of wind, the clouds can smear across the sky in artistic, intriguing styles.
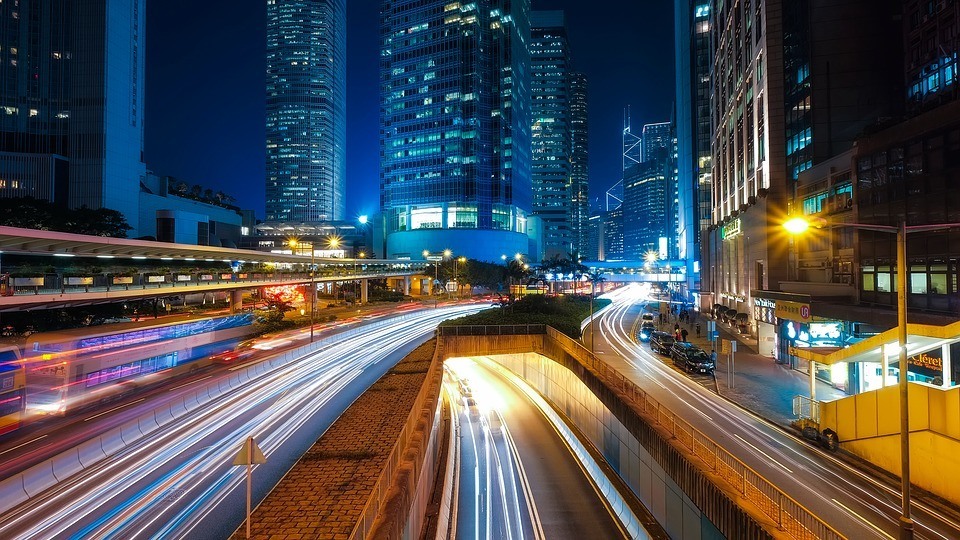
Car streaks are another application of motion blur photography that’s dynamic and often used professionally. Like the others, it relies on a tripod and long exposure times. I not only want a large amount of traffic but I should also give thought to the background. Scenic locations like skyscrapers around the heart of a major city allow me to capture the hustle and bustle of the area.
Conclusion
Motion blur photography is a lot of fun and can be used anywhere from the big city to out in nature. It’s also extremely educational for beginner photographers because it teaches you how the three pillars of exposure interact with one another. One of the quickest ways to understand Manual mode photography is through trying to create motion blur intentionally. So click that Mode Dial over to Manual and give these tips a try!


