Contents
Wildlife photography is challenging regarding technology, subjects, and technique. The technology tends to fail in poor weather. The subjects don’t want to be photographed. And the technique takes some getting used to. But it’s also some of the most rewarding. Close views of animals in their natural habitat are incredibly rewarding and a testament to the patience and skill of a wildlife photographer. So let’s take a look at what it takes to get started with wildlife photography.
High megapixel counts
24 megapixels is the number I see most often when shopping for cameras and for good reason. It’s enough for fairly aggressive cropping of photos while still allowing the results to look acceptable sharp on most monitors.
It’s high enough for people to make prints at excellent image quality as well. The individual pixels themselves will usually be large enough to not cause the sensor noise issues when working with low light settings.
But wildlife photographers (and nature photographers in general) can often use a few more megapixels than most. Because our subjects are so shy sometimes I’ll get a lot of scenery I’d rather not have. But if I have to crop extremely aggressively the image will rapidly look too grainy to want to keep. High-resolution sensors like that of the Nikon D850 (36 MP) or Sony A7R series (42 MP) give me plenty of room to work with. Fine details like whiskers and feathers as well as leaves and wood grain in the surrounding forest also benefit from the extra sensor resolution.
No doubt I’ll also be taking more than a few landscape images as well and being able to capture fine details in beach sand, stone, and wood more accurately will come in handy. Landscape and wildlife images are some of the most popular for making large prints from, the most common reason we want more megapixels on our sensors. While 24 megapixels is more than enough for most photographers if I decide to make wildlife photography a priority I’ll want to get a few more if possible.
Longest focal lengths
I want zoom. Zoom means high focal lengths. 85 and beyond is considered telephoto territory but this is only the start for wildlife photographers. As stated needlessly earlier, wildlife is notoriously shy and not likely to allow me to approach close enough for a proper portrait.
But how much zoom do I need? It depends on my subject. If I like to do wild bird photography, I want as much reach as I can get. Birds are extremely skittish, for one. Second, they tend to be small and if I want to fill the scene with my subject I need even more zoom to capture it. I’d prefer using lenses with a 500mm-600mm focal range, but if I’m shooting tamer subjects in a city, I might be able to make do with 300mm.
This range does depend on the size of my sensor as well. If I’m using an APS-C sized one (sized 23.60 x 15.60mm) then a 300mm lens gives a roughly 450mm equivalent field of view, or “extra reach.” If I’m using Micro 4/3rds (sized 17.00 x 13.00mm), then a 300mm lens gives me as much reach as a full frame 600mm lens.
Image stabilization
Long lenses also mean image stabilization is necessary. The longer the focal length, the more any sort of unwanted motion manifests as blur and loss of sharpness. Many of the best wildlife lenses include a long list of letters and numbers in the name.
Be on the lookout for terms like VR (Vibration Reduction – Nikon), OSS (Optical Steady Shot – Sony), O.I.S (Optical Image Stabilization – Fujifilm), etc. This means the lens has stabilizing elements to help correct for handshake that would otherwise cause motion blur and loss of sharpness.
Other forms of image stabilization include tripods and monopods. While both have their uses monopods are much better for wildlife photographers because they set up and break down much faster. I need to be on the move with my subject. Tripods take time to set up and balance and then break down. And simply trying to move with the legs splayed is a recipe for gear getting caught on foliage and even snapping.
Monopods don’t provide as much stabilization, but they do provide plenty combined with an optically stabilized telephoto lens to ensure my wildlife images will remain harp even at maximum zoom.

Weatherization
I need to be looking at all-weather gear as a wildlife photographer, no exceptions. Well, few exceptions. Rain sleeves can be had for very little money that provides rain proofing for digital cameras. The most basic ones are a plastic sleeve that fits over the camera and my arm. The price goes up from there and includes neoprene rubber and more complex designs using plastics, rubber and more that are capable of protecting bulky cinematic camcorders. My needs depend on my environment.
Water Resistance
But one of the best ways to keep your gear safe is by buying gear that’s already resistant to the elements. More and more cameras today are weatherized to ensure dust and rain won’t damage the sensitive electronics. One thing I need always to remember is that even if my camera body is weather-proof I need to ensure my lens is as well. It does me no good to have a rain-proof camera body with an unsealed lens. Water will simply make its way into the camera via the lens and ruin both pieces of equipment.
Weatherized cameras usually use a magnesium alloy construction that is durable, scratch and corrosion-resistant, and very lightweight. Combined with the plastic and rubber molding to keep out the elements I can shoot in peace knowing I need not fear rain nor snow.

Composition
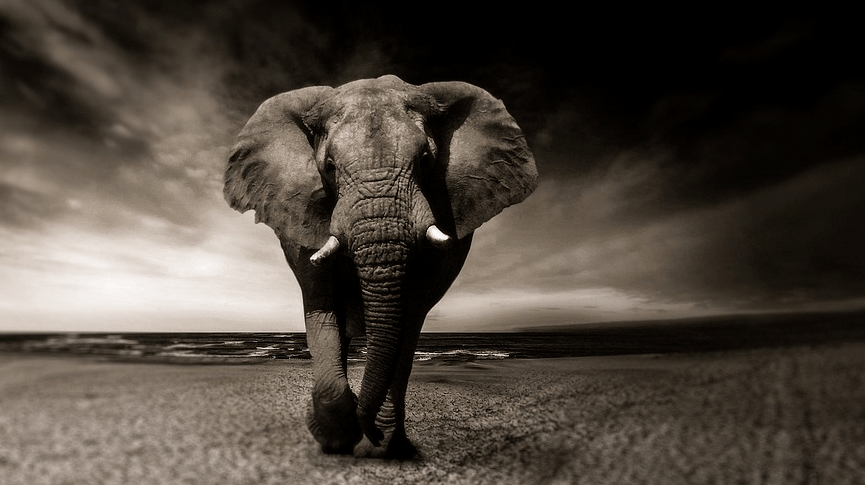
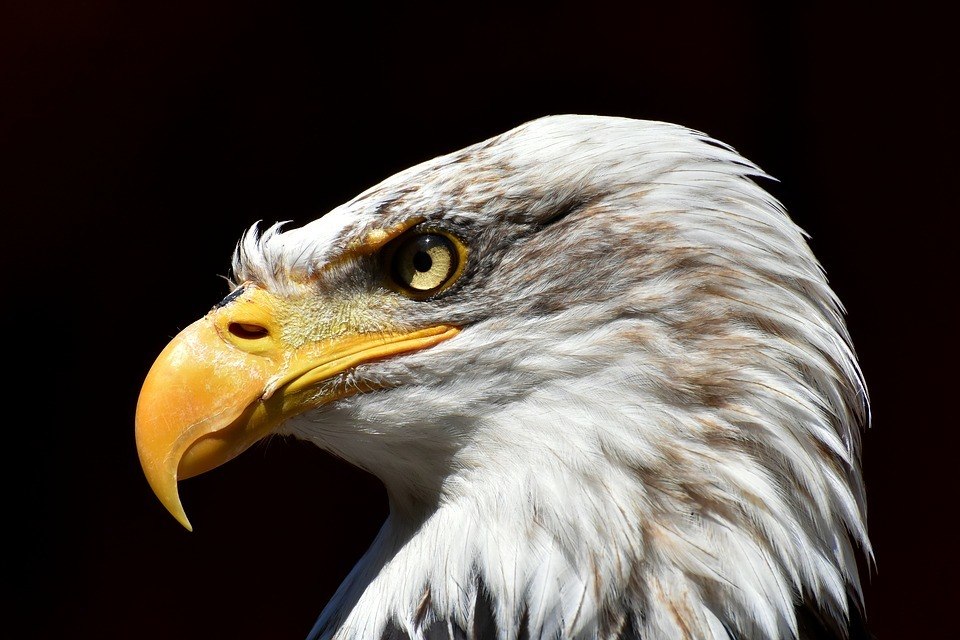
Wildlife portrait work is hard because the vast majority of wildlife is shy and intolerant of even well-meaning humans. Many of the images we see of seemingly wild animals are of ones fully accustomed to human presence. Even in game reserves and national parks the animals become used to crowded vehicles of people snapping away with cameras. The results look like close-ups of animals in the wild, but true wildlife images are far harder to capture.
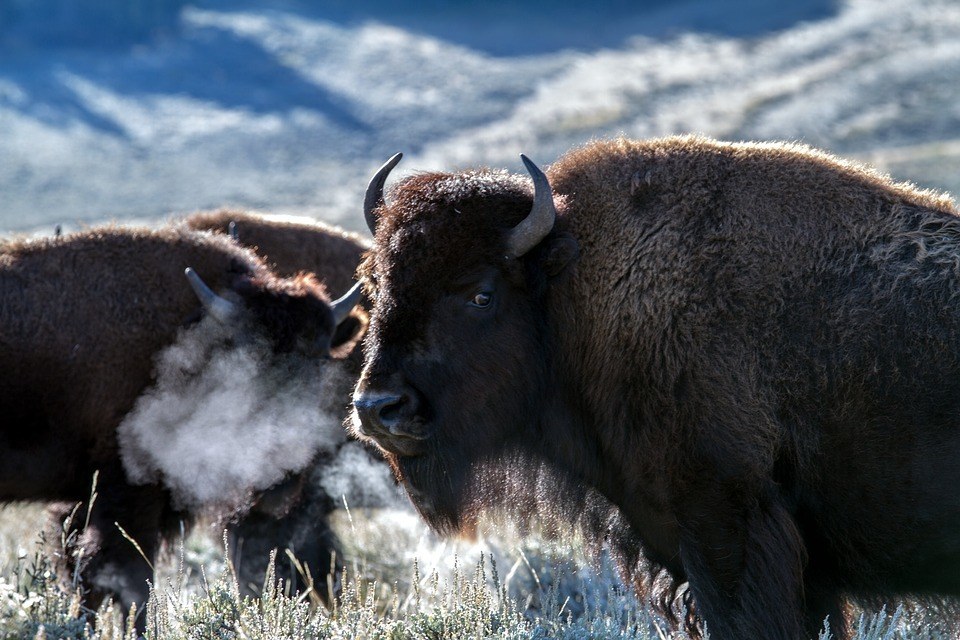
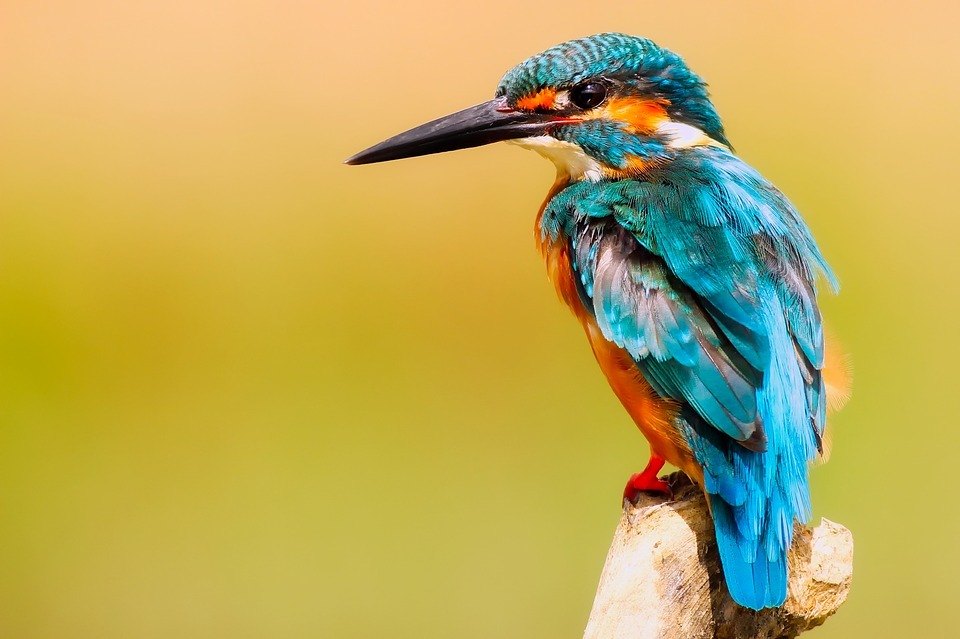
I want to lock my focus around the subject’s eyes. Animal or human, this always applies to portrait photography. If I’m using a depth of field that keeps the entire animal in focus or the animal plus the background it matters less. But when I’m looking to work with a narrow depth of field to highlight the expression or a particularly small subject, I want to make sure I get the eyes in focus.
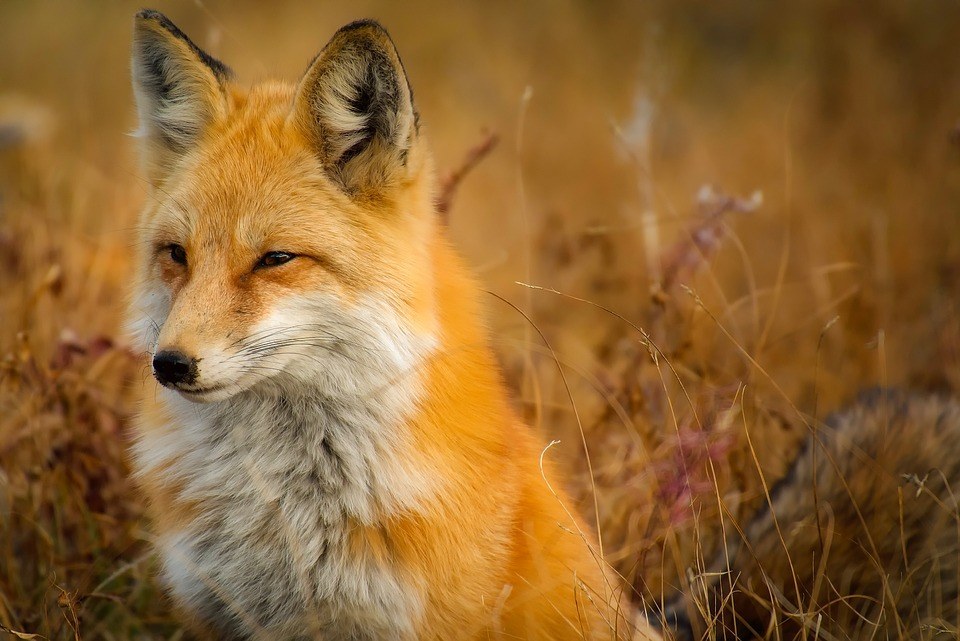
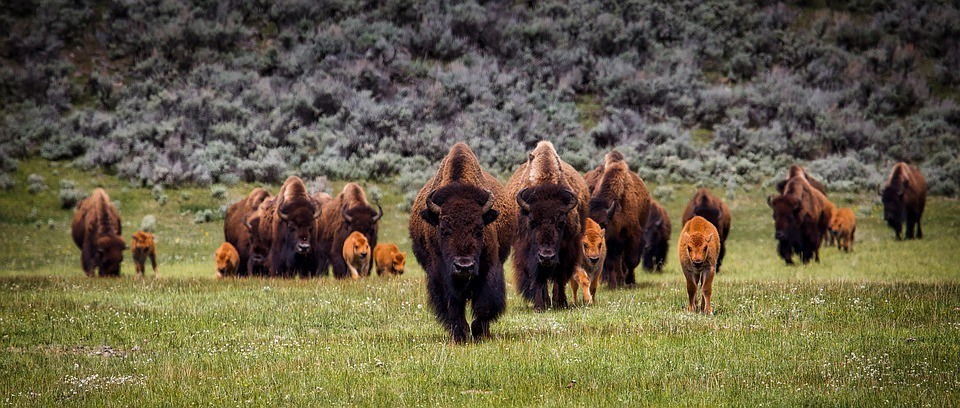
Also, try and include a sense of place in some of the images. Close-ups of a fox in the forest so sharp I can count the whiskers are intriguing and beautiful. And a fox silently padding through its misty forest home is equally interesting in a very different way. As a wildlife photographer, I can showcase the environment just as much as the animals that call it home.
Hunting my quarry
Get to know the habits of a target species. If I’m after a particular bird, then I should know what time of day they’re active at. I should know what their migration habits are as well as when they enter their mating season.
Sometimes hiring a local guide is the best method, especially if I do a lot of traveling. There’s just no way I can know all of the habits of every target animal species when I visit a new environment. A local guide can tell me where the most interesting animals to photograph can be found, what time is best, how to navigate the terrain, and tons of other handy tips to make my job that much easier.
If a local guide isn’t available (or I don’t know the language/don’t have the money for a guide) then a guidebook may be my best bet. A simple guidebook will tell me almost everything an experienced guide can and greatly improves my chances of finding my quarry.
Many outdoor and wildlife-oriented cameras also include GPS capacity. This lets me geotag images and video with GPS metadata. This information can be read later so viewers can see exactly where a photo was taken, along with information like elevation, the date, and the time of day. If there’s a wildlife image you particularly enjoy it’s a good idea to check for GPS metadata. Some websites like Flickr automatically display it along with a map showing the location the image was captured.
Conclusion
Wildlife photography is definitely a special form of nature photography. It takes patience, a solid investment in good gear, and being willing to get down and dirty in search of the perfect image. But even if I don’t get the shot spending a day in the field trying to catch it is absolutely worth the time and effort. So hopefully the information in this guide will have you ready and raring to go! Happy shooting!