Contents
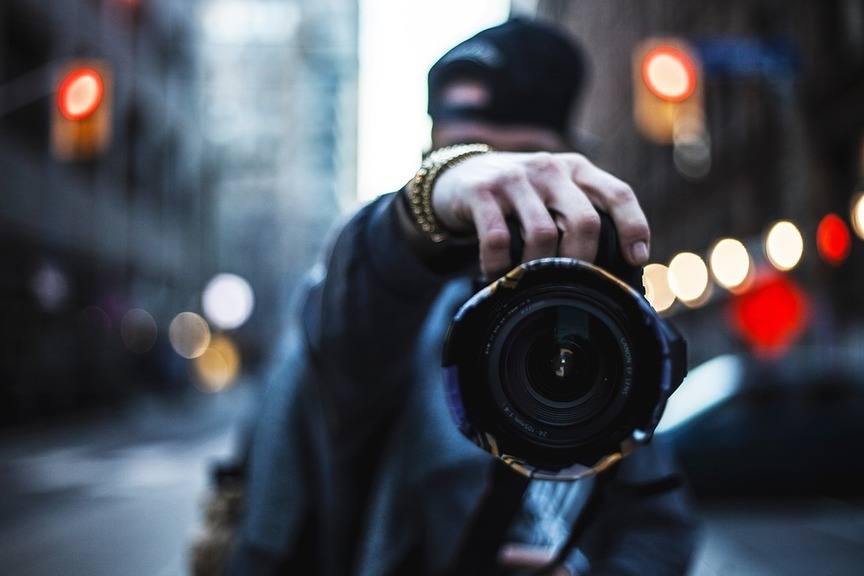
In this tutorial, we’re going to talk about how to use flash to improve your photos.
Today’s DSLRs have very high ISO settings, which allow you to shoot nice, clear pics without flash in low-light conditions. Because of these advancements, many photographers have simply done away with flash photography, concluding that flash just isn’t needed anymore.
But this isn’t necessarily the case. There are still many situations in which shooting with flash will produce better photos. There’s just a different feel and quality to photos that are taken with flash, so it’s important for any serious photographer to understand how to use flash properly.
Flash Photography Basics
If you’re just starting to use flash, you probably have a lot of questions about how to fix specific problems in your photos, such as unwanted shadows, blurriness or washed-out colors. Every situation is a little different, but there are principles that can help you learn to correct these issues on your own with a little bit of experimentation.
Here are some of the basics of flash photography:
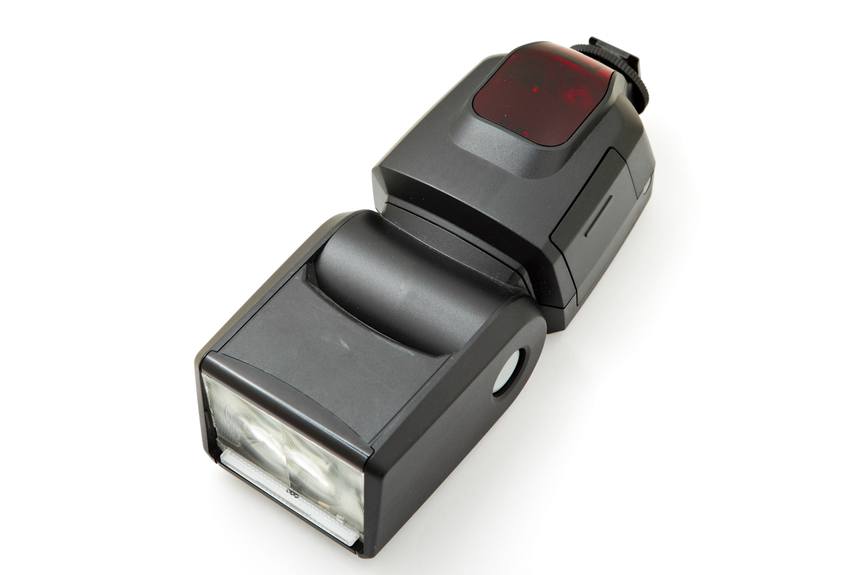
Pop-Up Flash and Dedicated Flash
First, most DSLRs today will have a popup flash installed on the camera. Some high-level models might leave this feature out since it is assumed that pro photographers will have dedicated flash units mounted on their cameras instead.
But popup flash is great for photographers who like to shoot on-the-go and don’t want to be bogged down with a lot of equipment. In most cases, the camera’s built-in light meter will determine if flash is necessary. When the lighting isn’t good enough to get a proper exposure, the built-in flash will pop up automatically when using modes other than Manual (M).
Popup flash works just fine when your subject is relatively close to you, such as in a portrait. But when shooting subjects that are further away, you might want to use a dedicated flash unit mounted on your camera.
Most dedicated flashes also offer a lot of adjustable settings to give you more control so that you can fine-tune your images, such as adjusting flash compensation. You can use this feature to bracket your exposures, just as you would do when adjusting exposure compensation up or down without flash. Bracketing is a good practice because even the best light sensors don’t get it exactly right all of the time.
Shutter Speed and Flash Photography
When shooting in low-light conditions, it can be difficult to get a clear, sharp image because you might have to use a slow shutter speed to get the exposure correct. When your shutter speed gets down into the 1/30 range or slower, it becomes increasingly more difficult to avoid blurry images when shooting handheld. And when shooting in dark conditions, such as night photography or concert photography, it can be nearly impossible to get a good shot without flash.
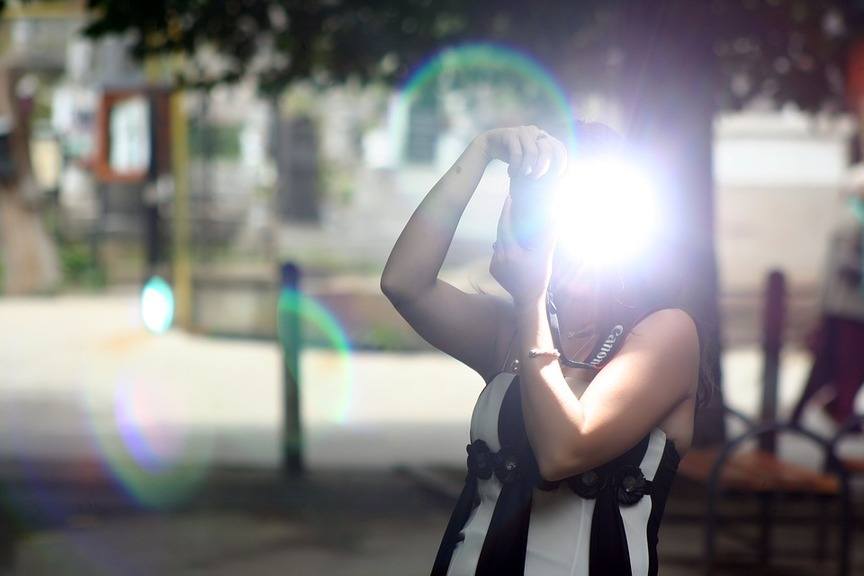
Boosting your ISO can help brighten the image so that you can use a faster shutter speed, but whenever you boost ISO, your image loses overall quality, becomes more grainy and tends to have dull, washed-out colors. So using a flash in these environments can make a huge difference.
Fill-Flash
Fill flash is one of the best reasons to use flash, particularly when shooting outside in direct, overhead sunlight. That harsh sunlight tends to cast dark shadows across your subject — particularly on the face — and can ruin an otherwise good photo. I’ve ruined a lot of portraits by forgetting to use my flash to fill in those shadows.
Advanced Flash Photography Techniques
Once you have a solid understanding of how to balance the different elements of proper exposure — shutter speed, aperture, ISO and flash control — you can then start playing around with your flash to get some more interesting effects.
Dragging the Shutter in Low-Light Conditions
One of the most interesting ways to incorporate flash in low-light settings is to use your slow sync function when shooting in an automatic or semi-auto shooting mode. Your camera might have a “night portraiture” or “party mode”, but this is basically the same thing.
When shooting with flash, your camera will generally choose a fairly high shutter speed to prevent motion blur, and then it will adjust the aperture and flash output to compensate. But with this feature, a slower shutter speed is deliberately used to create some blur effects.

If your DSLR doesn’t have a slow-sync function, you can produce this effect in Manual mode (M) by “dragging the shutter” and using a slower shutter speed. This will freeze your subject with the flash, brighten the background by letting in more ambient light and create motion blur around your subject when shooting by hand without a tripod.
To keep the background sharp and eliminate motion blur, simply use a slow-sync technique and a tripod.
Bounce Flash
Whenever you use on-camera flash, there will be sharp, dark shadows cast behind your subject. This can be very annoying when the subjects are close to a wall or other large object behind them.
The best way to avoid this is to use bounce flash. Most dedicated flash units have a head that swivels up and down and rotates left and right. This means that your flash can aim up and bounce the flash down onto your subject from above.
Or you can aim the flash to the side and bounce the flash off a nearby wall. If the wall or ceiling is white, more light will be cast onto your subject. If it’s dark, then less light will be reflected and you might need to boost the flash compensation to get more light onto your subject.
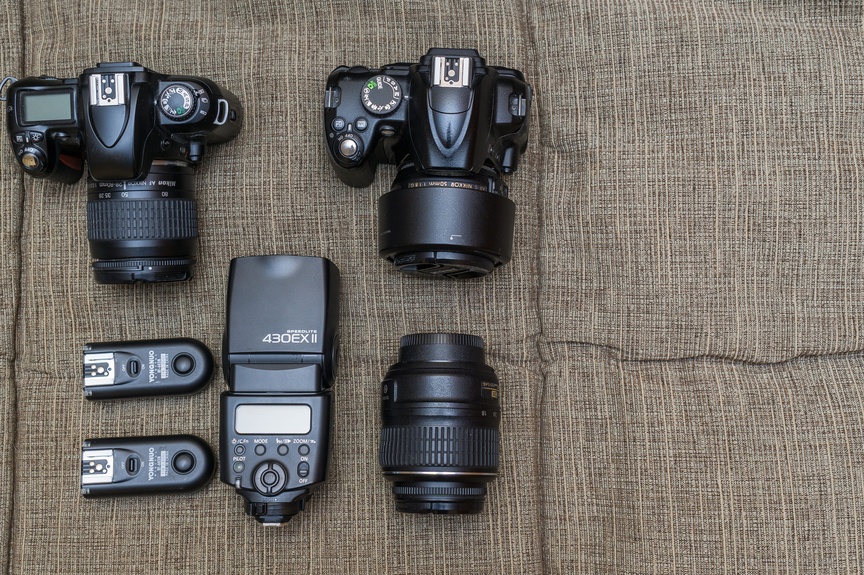
Off-Camera Flash, Remotes and Mixed Lighting
You can also create some great lighting effects by using remote flash units off to the side, up above, down on the floor or even behind your subject. These off-camera flash units automatically sync with your camera so that they all go off at exactly the same time, casting light on your subject and background from a variety of angles and brightness levels. You can even use colored filters on the different flash units to create washes of color around your subject.
Most flash units are calibrated to produce intense light which has the same white balance as sunlight, whereas indoor light bulbs have a different white balance signature. So when shooting with multiple light sources, you need to pay attention to how the existing, ambient light will alter your final image. Be sure to closely check your images on-camera to see how your shots are coming out. If the colors are off, you can try using filters over your flash and over the other lights, or you can try adjusting your WB settings on the camera to create a more pleasing color scheme.
Final Thoughts
Flash photography might sound pretty complicated, but it doesn’t have to be intimidating. Practice makes perfect, so just go and shoot hundreds or even thousands of pics every time you go out. If you’re not sure about what you’re doing, then just try changing one element at a time to make it easier to spot the differences that each adjustment makes.
Take several shots with different WB settings. Then once you have that figured out, take several shots where you only change the shutter speed or the ISO. Take some outdoor daylight shots with flash and without flash to see what happens with the shadows.
And above all else, don’t forget to have fun! Be like a scientist, an experimenter or an explorer on an artistic adventure!


