
Contents
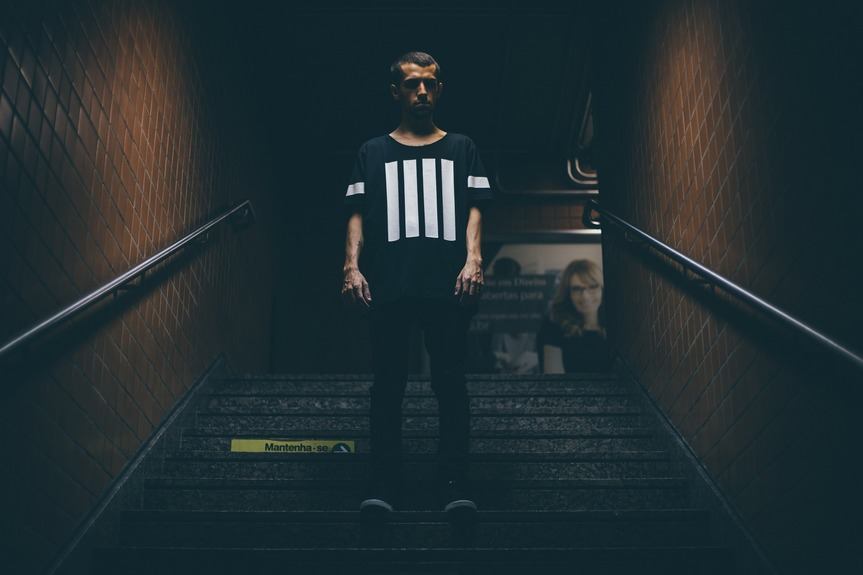
Taking my camera out at night can be a complicated affair. Without additional lighting, the scene may or may not be exposed properly. And when I click on the flash, all too often the result is harsh lighting, red eyes, and deep shadows. So how to use the camera once the sun’s gone down?
#1. Flash photography modes
Most digital cameras nowadays have manual and TTL (through the lens) flash settings. Manual flash allows me to adjust the strength of my flashbulb. TTL is more of an auto flash exposure setting. The camera takes a test flash to gauge the exposure of the scene, and then fires a second time at the flash strength it determines will give good exposure.
For a scene where only a small amount of additional flash is required, manual and TTL flash work very well. But even when I need the full power of your flash unit, it’s not always a good idea to simply point and click. Often I end up leaving the background underexposed and the subject too harshly lit.
Consider bouncing the flash instead. Many flash units on digital cameras can be swiveled right or left. If possible, bounce the flash off a neutral grey or white colored wall or low ceiling so that it hits the subject. The wall acts as a light diffuser, which lends a softness to the light and illuminates skin tone better.

#2. Getting to know ISO
ISO normally needs a little fiddling with compared to the other elements of the Exposure Triangle. But when the lighting becomes poor, I’ll want to move beyond ISO (Auto) to make sure I can keep the shutter speed and aperture where I want them.
ISO is the sensor’s light sensitivity, just like the ISO ratings of non-digital camera film. The higher the number, the more sensitive the camera becomes to light. Normally I want that number as low as possible. At least when I’m using it in bright sunlight.
Increasing the ISO increases sensor sensitivity, but it also becomes more sensitive to random electronic interference within the camera. Speckled artifacts called noise is the result. While I want to increase the ISO when shooting at night, it’s much better to control lighting, shutter speed, and aperture whenever possible.
#3. Understanding shutter speed
People sometimes set their camera to “Auto,” fire and forget. But Manual mode is my best friend when shooting at night. Shutter speed becomes very important, as my lighting is already very low.
Shutter speed is expressed as fractions, so 1/50ths of a second is slower or lower than 1/500ths of a second. A faster shutter speed means less light is entering the camera. So we want to use as slow a shutter speed as possible when shooting at night.
The downside to this is that if the subject is moving and I’m using a slow shutter speed, the image may have motion blur. Also, my hands can create motion blur as it’s impossible to remain entirely steady while shooting. Fortunately, there are a few extra tools that can help with this.
#4. Other essential tips
Tripods are pretty much mandatory when shooting at night to negate the blur which will be a huge problem when shooting with a slower shutter speed. It’s the best form of image stabilization available. And if I’m fortunate, my camera or lens may have extra built-in image stabilization as well.
Image stabilization works to negate motion blur specifically from the camera being handheld. It’s usually described “stops of light.” Say my camera provides up to “three stops of image stabilization.” And I’m in a scene where I can shoot as slow as 1/250ths of a second with little chance of blur. This means if I turn on IS, I can shoot at up to 1/60ths of a second, which provides 8 times as much light as 1/250ths of a second.
Conclusion
Night photography comes down to making every little bit of light available count. Shutter speed is extra important, as the extra light provided by slowing the speed provides the camera with that much more information to keep noise from becoming a problem.
It takes practice and a strong understanding of the exposure triangle, as the exact settings will change, depending on the subject, lighting, and scene. But with some practice, all of this will become second nature.
Good luck!


