Contents
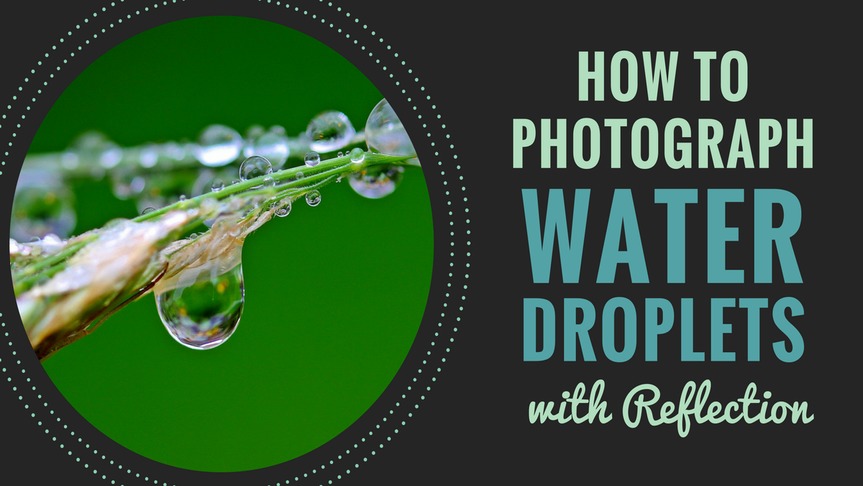
Water is fascinating in its simplicity. From the smallest drop to the largest ocean, water captivates the artistic spirit. Today I’m starting with the smallest amounts of water I can. So how can I take great photos of water droplets?
#1. It’s all in the reflections
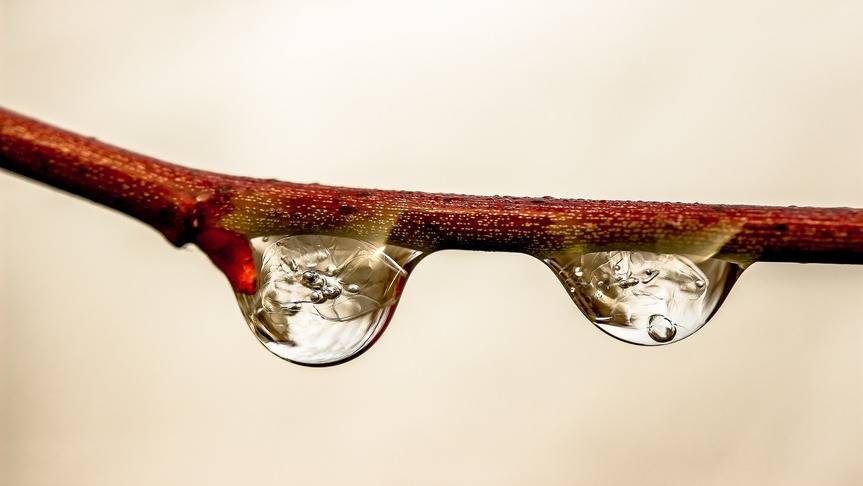
When photographing water droplets, the reflections, or lack thereof, are extra important. The droplets can act as lenses to the scene behind the water droplet. Or they can reflect light striking them, giving a star effect to the photograph. Which I get depends on my position and the lighting available.
If the sun is in the proper place, it’s relatively easy to capture light reflecting off of the droplets. In case it’s an overcast day, or I’m unable to move to a position where the sun’s rays are reflecting my camera, I can use the flash instead.
Manual flash is the best choice here instead of Auto flash. Manual flash gives me precise control over how much light bounces back to me. Also if I don’t want to add too much extra exposure to the scene from the flash, I’ll need to adjust my shutter speed to compensate for the extra light. As one part of the exposure triangle, increasing my shutter speed decreases the amount of light entering my camera, while still giving me reflections off the water droplets.
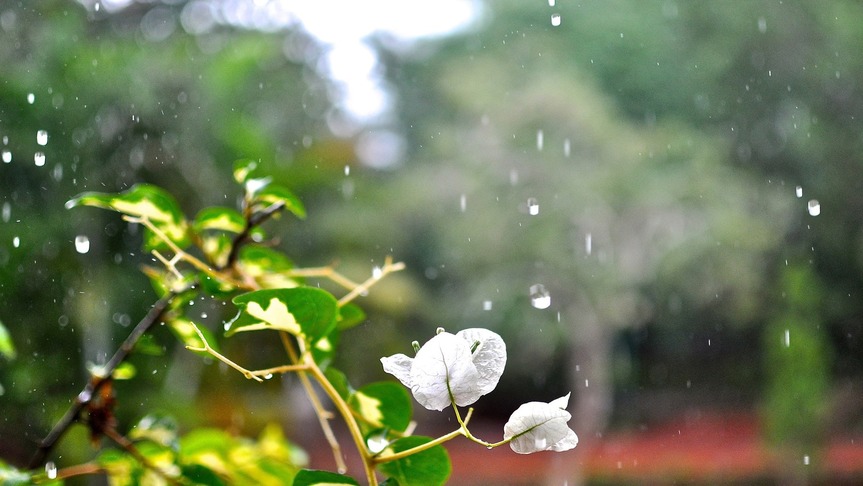
#2. Shoot in the early morning
If my area is prone to morning dew, cool mornings are a great time to get out and do some photography. While the Golden Hour (the first hour after sunrise) is a prime photography time, the diffused light of the sun won’t always give me the bold reflections I want on dewdrops.
Better to wait the full hour and then go out. The sun will be a bit bolder, and depending on your local climate, there will still be dewdrops available for water droplet photography.
Spiderwebs are also a great way to capture water droplets. Misted with morning dew, the result looks like a necklace of crystal beads. Because spiderwebs fall on a very narrow plane, I’ll need an open aperture to capture them. Depending on how close I get, that can be anywhere from f/2.8 to f/1.4, if my lens can open that far. Anything more, and the background becomes more visible.
#3. Photography in the rain
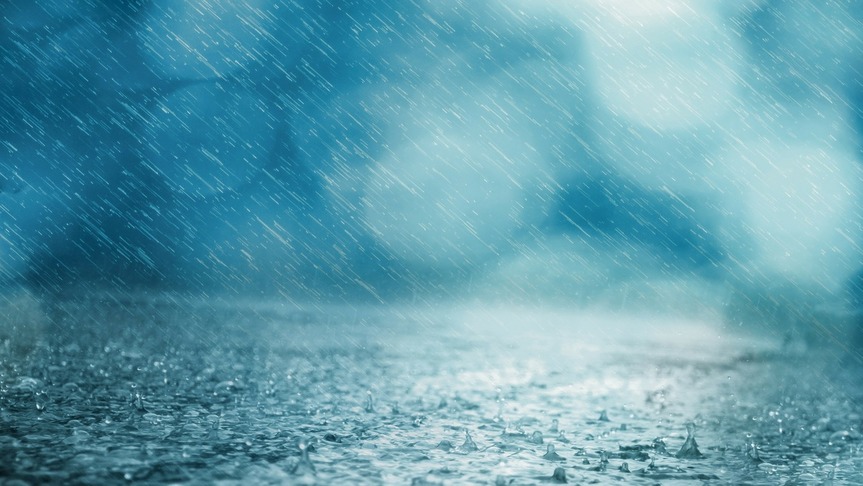
Rainy days are a third way to photograph water droplets. Unlike the first two, you need to give much more consideration to your shutter speed. This is because of the motion of the droplets.
If I leave my shutter speed low, say 1/200ths of a second or less, the rain will leave motion trails like in the photo below.
Increasing the shutter speed has the opposite effect. Around 1/500ths of a second or more, the droplets will begin to look more round, losing their motion trails as below.
High shutter speeds give me a much better reflection off of the raindrops while using my flash unit. I’d rarely want to use a slow shutter speed, as the motion trails would all show reflection from my flash and other light sources. The result will look quite messy.
Conclusion
Water droplets are deceptively complex. With the exception of raindrops, they don’t move much. But knowing where to move and how much light to apply will greatly improve my results.
It’s not really a type of photography most would consider spending much time on. But as a water droplet photographer, I’d recommend anyone spend a few minutes with the camera trained on some drops of dew or rain. You’ll be an addict in no time.
Further reading
http://chilby.com.au/Illawarra-Waterfall-Photography-Lessons


