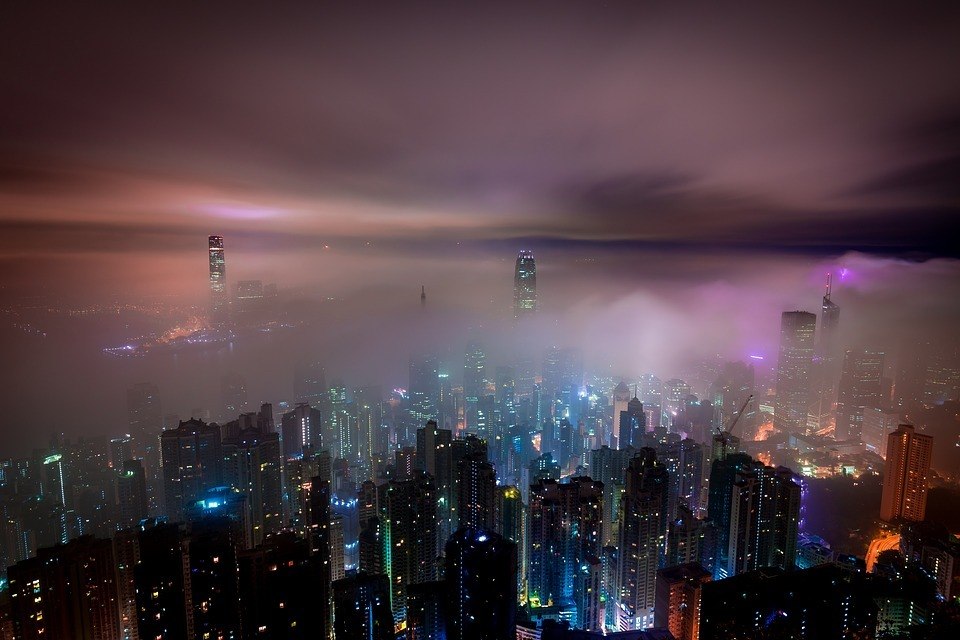
Correcting for Rain and Wind are two of the major factors that can spoil otherwise great photo opportunities. The most obvious factor affecting my images is the reduction in light exposure.
But the driving wind and rain itself can cause unwanted blur in subjects. So knowing how to control exposure and freeze the action are very important here.
First I need to know how shutter speed affects the perception of motion in my images. Fortunately, this is very easy to understand and merely takes some field testing. Shutter speed is how fast or slow the camera’s shutter blinks open and shut.
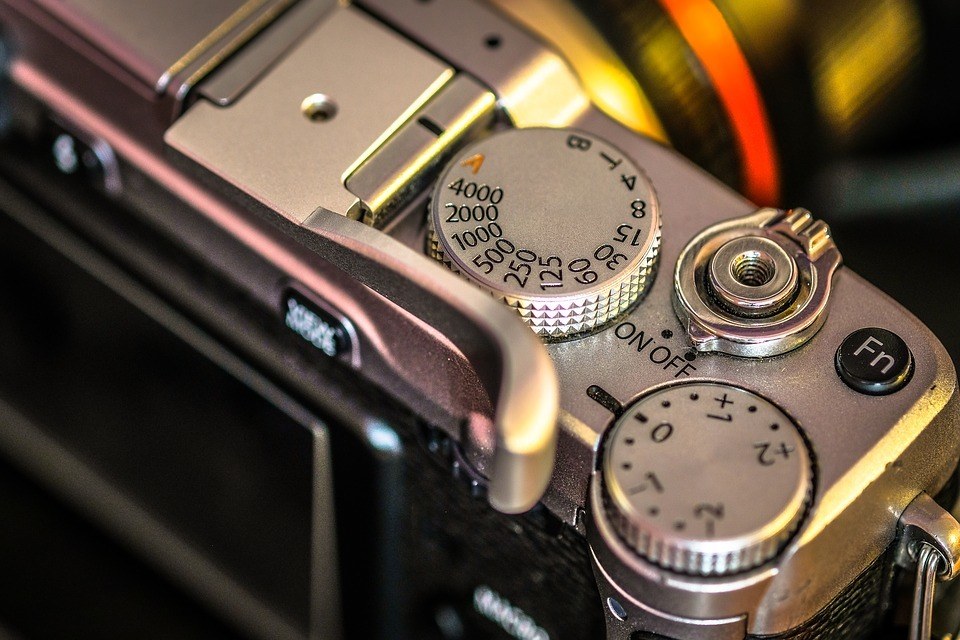
Fast shutter speed
Using a fast shutter speed means the sensor is only exposed quickly. This means that the image has less light hitting it overall, which could be a problem for proper light exposure if it’s already dark out. But the benefit is that moving subjects are displayed crisply and clearly instead of blurred by motion. As we see here, this includes raindrops on a dreary day.
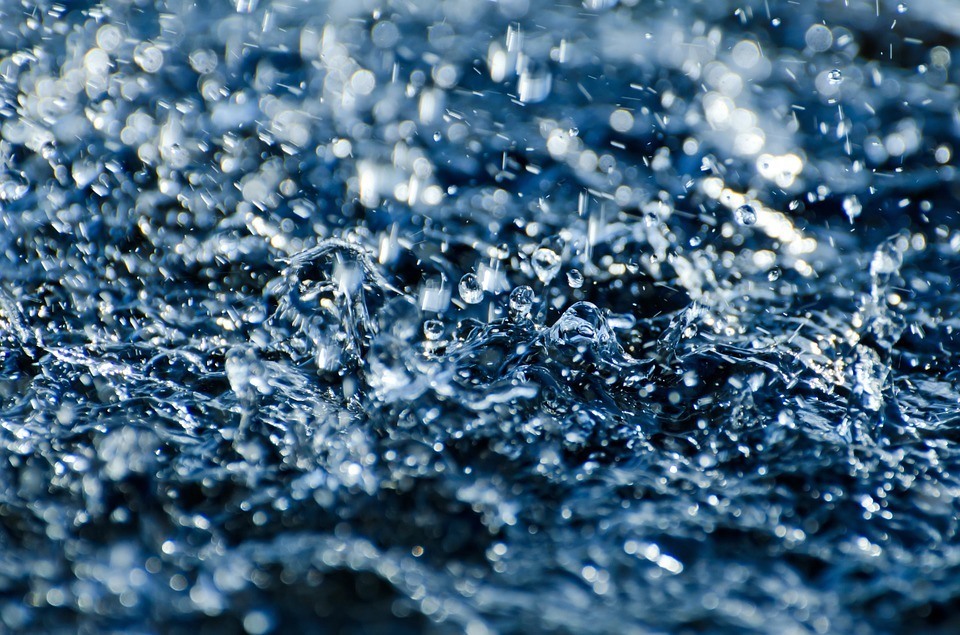
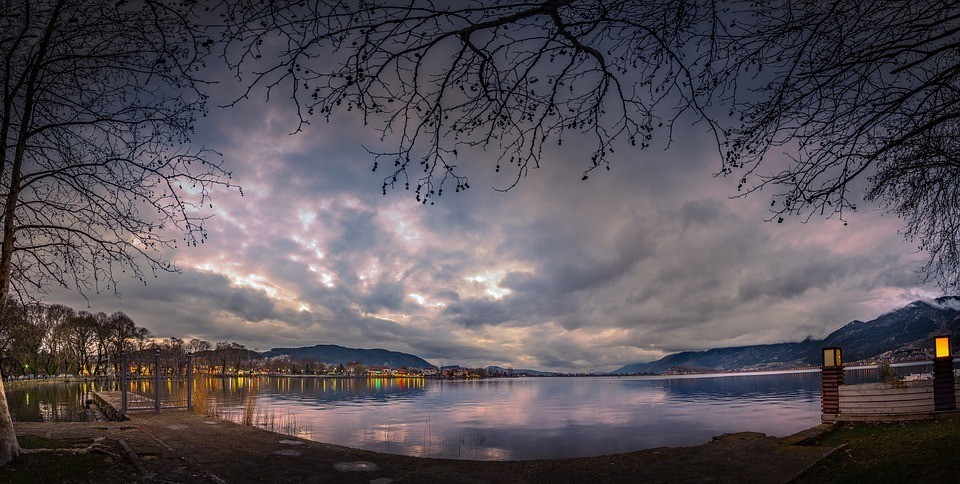
Photo by PublicDomainPictures / CC0 1.0
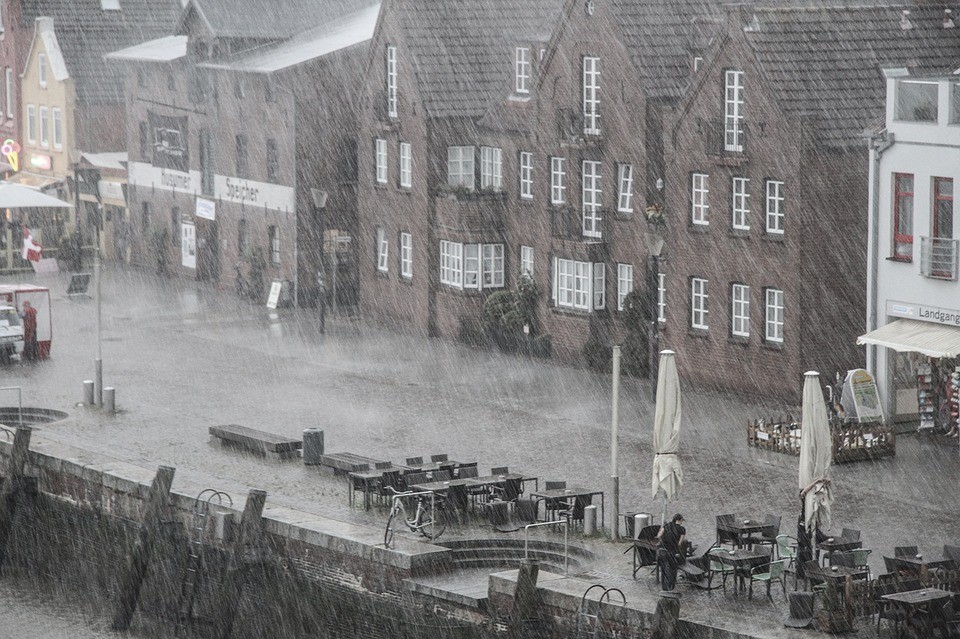
But the reverse can also be beautiful. Using a slower shutter speed gives me an image that suggests more motion in the rain and is just as artistic as the image above. But keep in mind that the speed of the rainfall also affects what shutter speed I need. There is no hard and fast rule; I simply need to test shutter speeds and make adjustments as I’m shooting to capture the effect I want.
Low ISO Setting
ISO is the second major tool to consider when working in poor weather. ISO is the sensitivity of the camera’s sensor to light. It comes in ratings that should be familiar to anyone who has used regular film.
The lowest number is usually 200 but may go as low as 100 or even 50 for newer cameras. I want to use lower numbers when the lighting is especially bright. But as things get darker, if I don’t want to change my shutter speed or aperture setting, then I should take a look at raising my ISO value.
Exposure Compensation is another adjustment tool most cameras have that gives almost identical results to adjusting ISO. At first, it seems clearly superior since I can adjust exposure without negatively impacting the amount of noise in the photo.
But the main advantage to working with ISO is that I’m actually adjusting how the camera interacts with light. ISO is the sensor’s sensitivity to light, after all. Exposure Compensation is a software adjustment that’s more or less effective depending on the scene and how well the camera edits the final image.
Also, noise is not a terribly huge issue. Depending on the camera so long as my exposure triangle is carefully calibrated I should be able to push ISO 800 or 1600 before needing to be concerned with noise. But Exposure Compensation has its place and shouldn’t be forgotten, especially when the weather turns poor.
Taking photos in bad weather is a challenge but with good knowledge of the exposure triangle, these challenges can be navigated. Another factor worth noting is the camera’s sensitivity to wind-blown dust and rain itself. Weather sealed cameras and lenses should be the first priority for any storm-loving photographer. They cost a bit more but are a lifesaver compared to a costly camera repair bill. Happy shooting!